Running the Setup Tool
Finish your Neos Setup
Once your development server is up and running, you can complete your Neos Setup either via the command line or via the web UI. This guide explains the different steps of the Setup Tool.
Prerequisites
You need to have neos/neos-setup version 4.0 installed.
#Using the command line
If you want to complete the setup in the command line, start by running the following command to display the necessary Neos Setup steps.
Execute the composer command with your previously chosen method: either through Docker, Ddev, or on your local host.
./flow setup

# OR in a Ddev environment:

ddev exec ./flow setup

# OR in a Docker Compose environment:

docker compose exec neos /app/flow setup
In a docker compose environment you can either execute the flow commands from outside the container or within the container. For example:
# From outside the container:
docker compose exec neos /app/flow setup

# OR enter the container with:
docker compose exec neos /bin/bash
#afterwards execute the flow commands like locally:
./flow setup
The command will tell you which requirements are already met and which of the next setup steps you still need to complete. Feel free to skip steps in this tutorial which are already marked as completed by the setup command.
    ....######          .######
    .....#######      ...######
    .......#######   ....######
    .........####### ....######
    ....#......#######...######
    ....##.......#######.######
    ....#####......############
    ....#####  ......##########
    ....#####    ......########
    ....#####      ......######
    .#######         ........

          Welcome to Neos.

Basic system requirements
All basic requirements are fullfilled.

Database
Please configure your database in the settings or use the command ./flow setup:database

Neos setup not complete.
You can rerun this command anytime via ./flow setup
#1. Configure database connection
First, we need to tell Neos how it can connect to the database. Depending on your setup (Docker, Ddev, etc.) the credentials can differ. Make sure you have the database host (mostly localhost), user, password and database name at hand. Then run the following command and fill in the credentials as requested:
./flow setup:database

DB Driver (pdo_mysql):
  [pdo_mysql] MySQL/MariaDB via PDO
 >
# [press ENTER to use MySQL]
Host (): # enter your database hostname
Database (): # enter your database name
Username (): # enter your database username
Password (): # enter your database user's password

# output:

Database [your database name] was connected sucessfully.

Neos:
  Flow:
    persistence:
      backendOptions:
        driver: pdo_mysql
        host: [your database hostname]
        dbname: [your database name]
        user: [your database username]
        password: [your database user's password

The new database settings were written to Configuration/Development/Settings.Database.yaml
#2. Run Doctrine Migrations
After telling Neos how to connect to the database, you need to run the following command to fill the still-empty database with an initial table structure:
./flow doctrine:migrate#3. Create your first Neos User
Now that you have fully set up the database, you can go on and create a user account, so that you can log-in in Neos. The following command will create a user with administrator privileges:
./flow user:create --roles AdministratorWhen you run this command, it will ask you for a username, a password, a first and a last name for the user that shall be created.
#4. Configure the Image Handler
Neos offers a set of different Image Handlers. Their job is to create thumbnails for assets uploaded by the editors. Not every Image Handler is available, depending on what software is installed on the server where your Neos will run.
The following command will help to evaluate which Image Handlers will work and asks you which of the working Handler you want to use. Your choice will be written to a configuration file.
./flow setup:imagehandler
Select Image Handler (Gmagick):
  [Gmagick] Gmagick php module
 >
# [press ENTER to use the proposed image handler]
# output:

Neos:
  Imagine:
    driver: Gmagick

The new image handler setting were written to Configuration/Settings.Imagehandling.yaml#5. Set up the Content Repository
Before you can set up your first site, you need to set up the Content Repository to work in. Run the command below to create the database tables for the Content Repository and to initialize an empty Event Store.
./flow cr:setup --content-repository defaultIf you want to learn more about the internals of the Content Repository, you can read more about it here.
#6. Get started with your first site
Now that all technical requirements are met, you can finally start working on your content. For that you have two options.
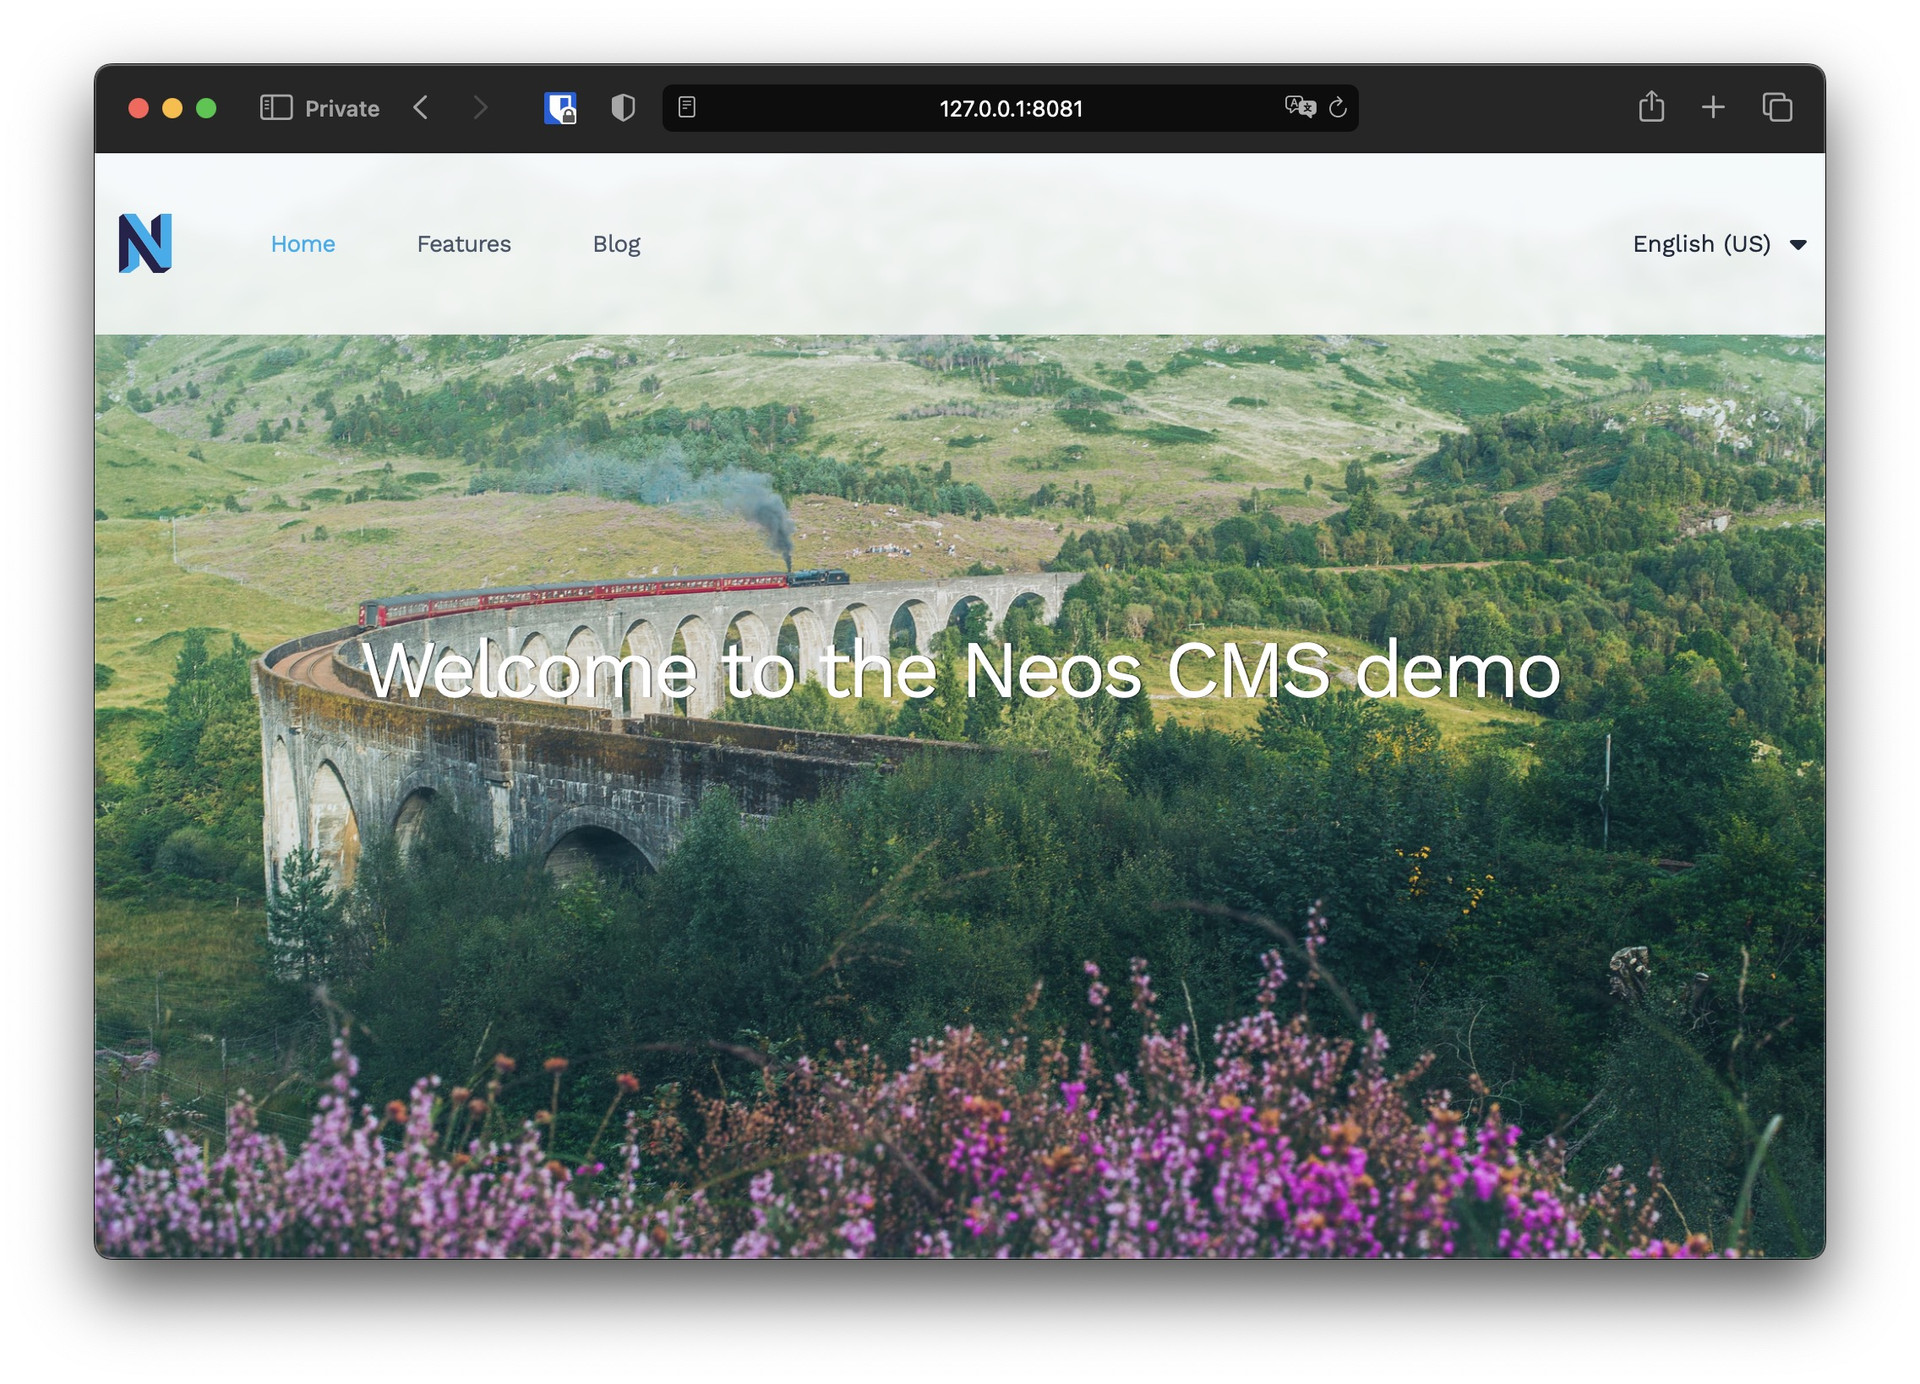
If you just want to try out Neos and see what it can do, you can import a site with demo content from the Neos.Demo package. We'll explain the details in 6a.
If you want to start a new project for yourself or your customers, you will want to create an empty site and site package where you will add your own code to create a custom website. The steps to do that are described in 6b.
What is the difference between a site and a site package?
In Neos, a site is a database entity which is connected to the site node and all its content elements. The site package is code-based and required for creating a new site or importing a site from that. A site package provides the necessary NodeTypes and rendering and can be source of multiple site instances.
#6a. Import a demo site from the demo package
To import demo content from the Neos.Demo package, use:
./flow site:importall --package-key Neos.Demo#6b. Create an empty site package
When starting with a plain empty setup, you need to create a new site package and create an site instance:
# create site package
./flow kickstart:site Vendor.Site
# create site instance
./flow site:create vendor-site Vendor.Site Vendor.Site:Document.Site#7. Setup complete
Congratulations! You successfully installed Neos.
You now have several options to proceed:
- Read the documentation
- Read about application contexts
- Go to the frontend
- Go to the backend
#Troubleshooting
In case the command line setup process displays that everything is fine, but you cannot access your installation, check where in the Configuration folder at the root of your Neos installation the settings were stored. Depending on the active context during installation they might have ended up in the wrong subfolder. In that case just move them to the root Configuration folder.
Don't know what your active context is?
Just run the command ./flow to find out about the active context and the Neos version. Those are vital information for any debugging step.
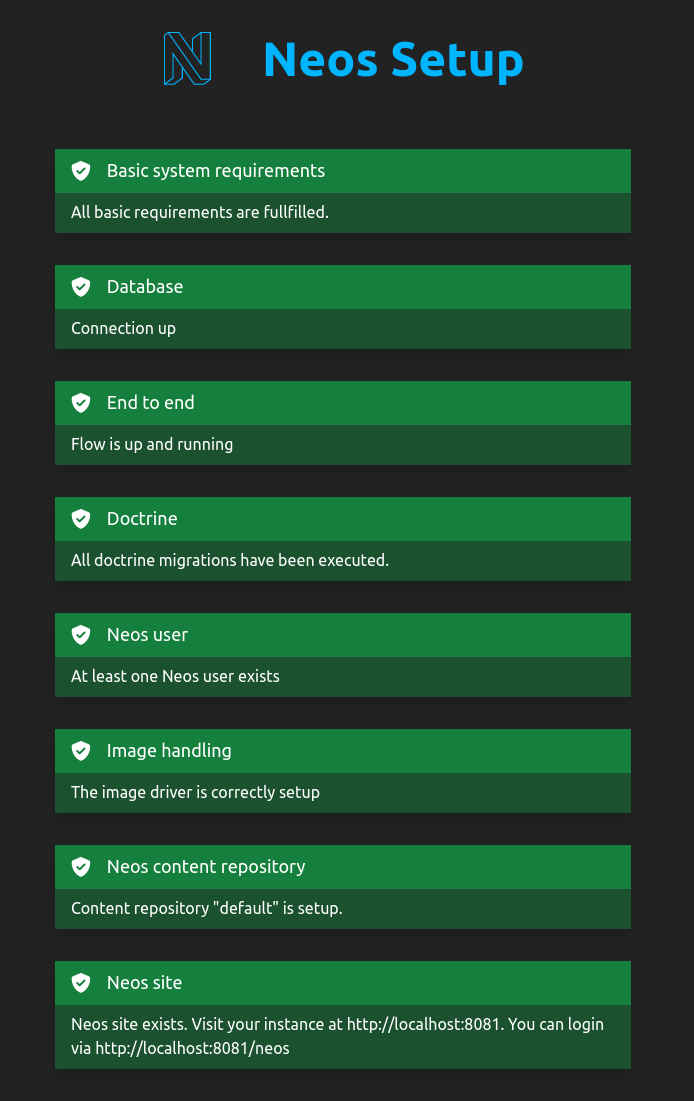
#Using the Web UI
With your Neos running go to <your_domain>/setup. The visual setup tool will show you which flow commands to execute.
Refer to the command line setup above for a more detailed description of the necessary steps.
Once you are finished all steps will display green.